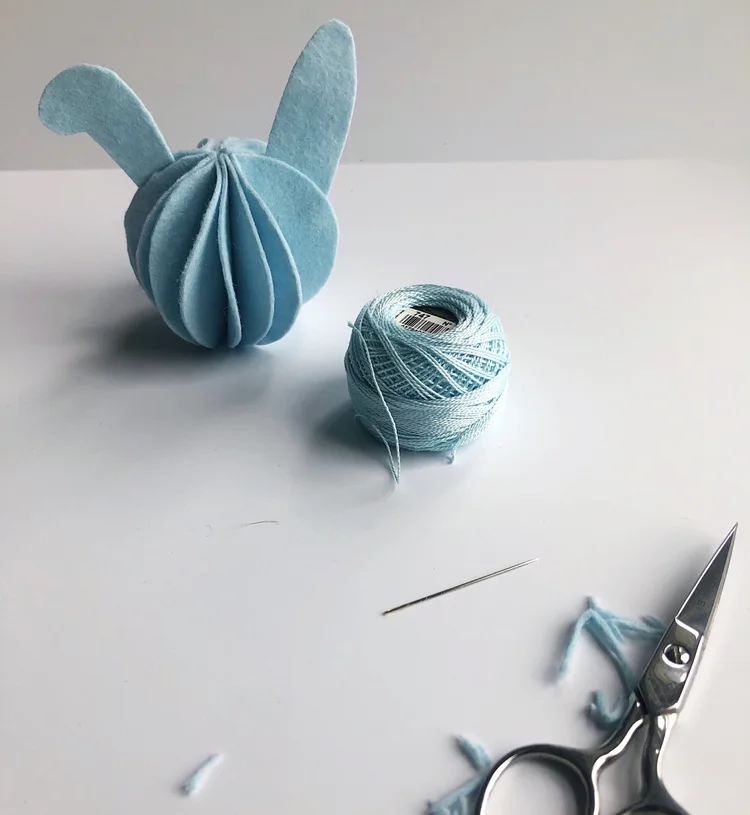
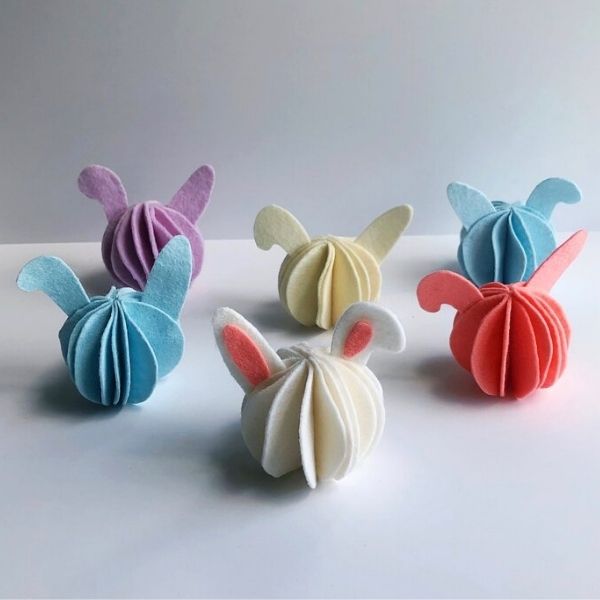
These mini felt bunnies sew together pretty quickly and it is likely that you already have the supplies on hand.
Supplies

To make an assortment of 2 1/2-inch bunny place ornaments:
Embroidery Floss or Pearle Cotton (if you don’t have either, the thread is fine.)
A Felt Mini Bunny Ornament template is available for free download here, printed and cut out.
PATTERN
FINISHED SIZE
About 2.5” inches high, plus ears
CUTTING
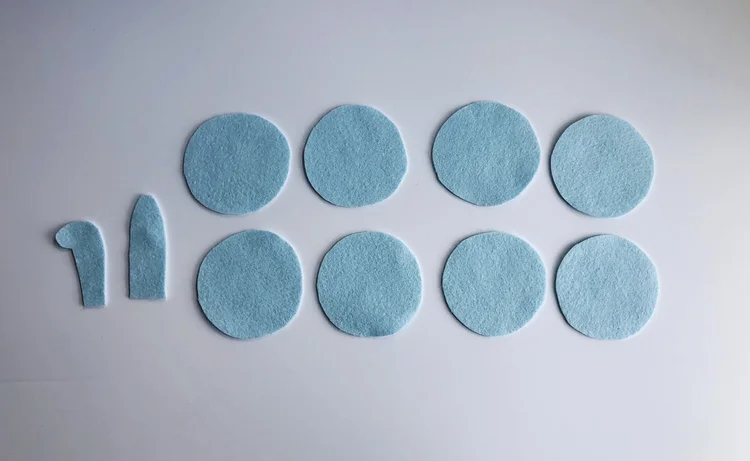
Cut eight circles from the felt and two ears

Press each of the cut circles in half, making a crease along the centre. Place the ears aside for now.
Sewing
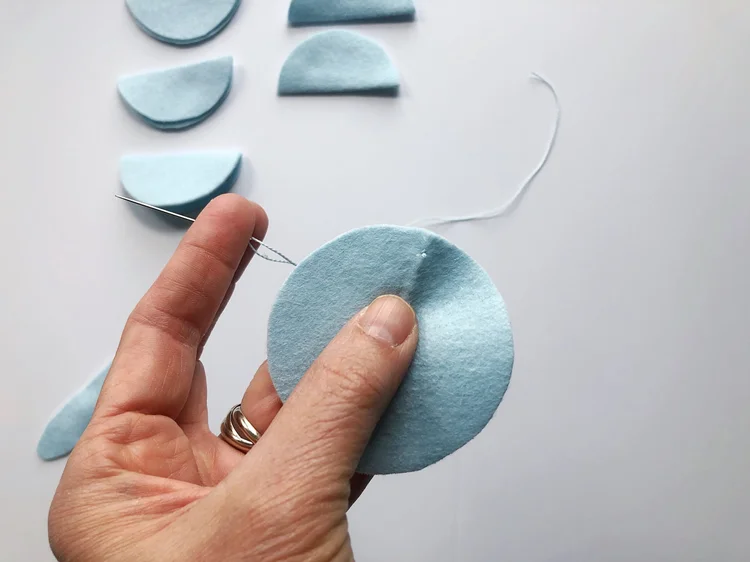
Cut a piece of thread about 20” long. Thread a needle and knot the end to tie.
Insert the needle from the back of one of the circles and make a small stitch to secure it.
This thread should be long enough to complete one bunny.
The idea is to keep sewing with the same strand of thread between all layers.
If you run out just tie off the end and rethread another strand.
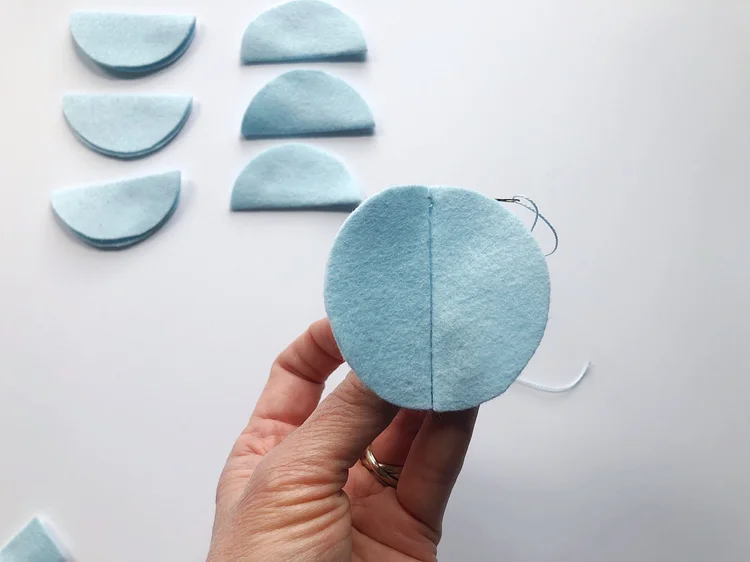

Stitch the two pieces together along their crease lines with a small hand stitch.
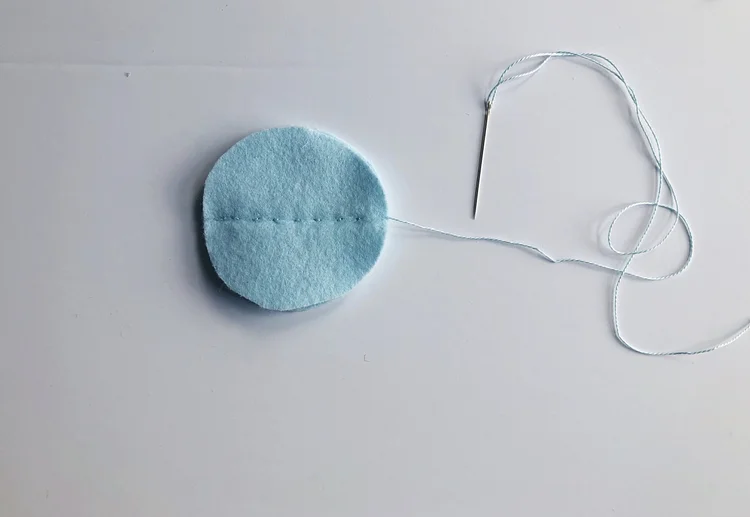
Try to keep your stitches even and be sure that both circles are aligned.
Sew across the entire fold and stop. Keep your working thread- do not cut.
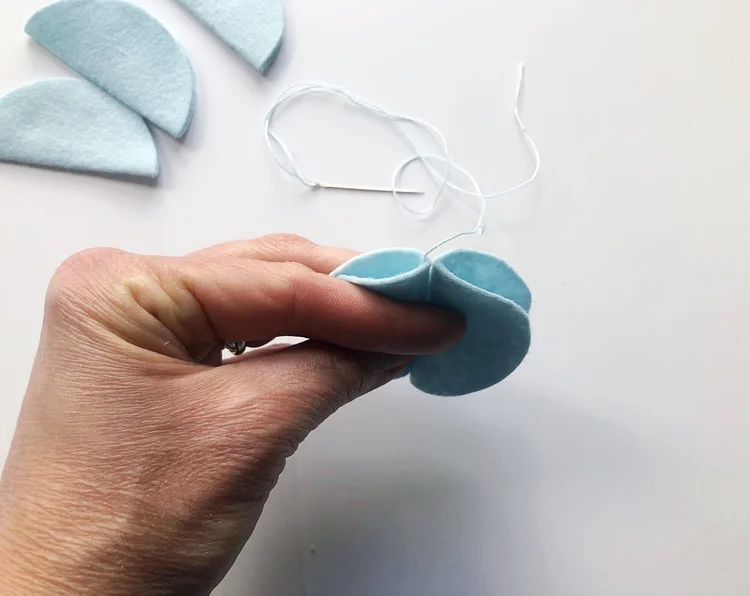
Fold the pieces that have just been sewn in half, like two tortillas.
Grab two more felt circles and layer them with the just sewn pieces in between.
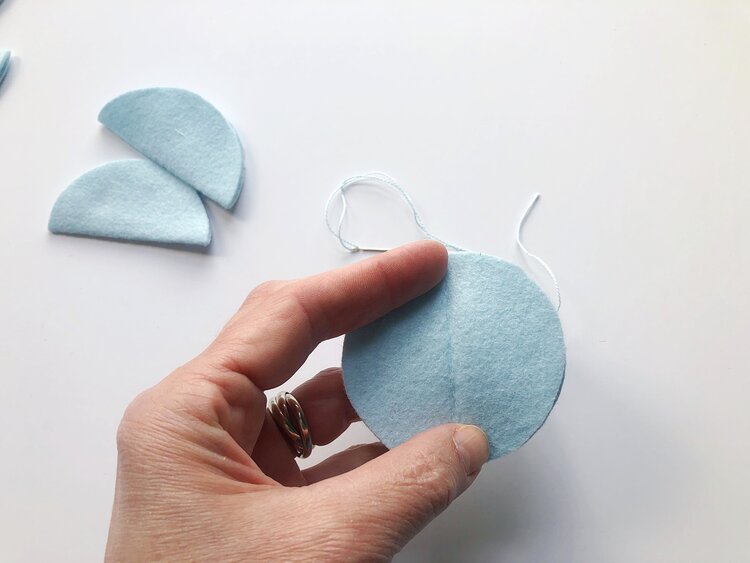
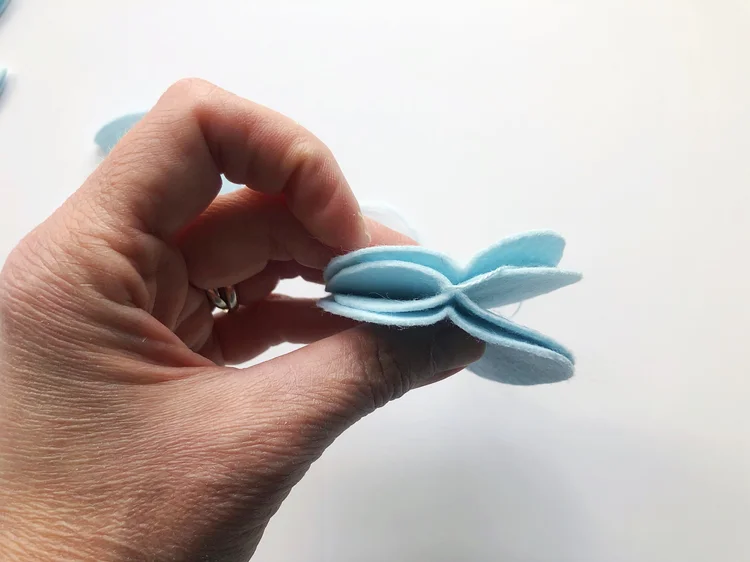
Doesn’t it look like a tortilla sandwich?
Make sure that the centre fold creases remain aligned with the centre seam of the inner layer

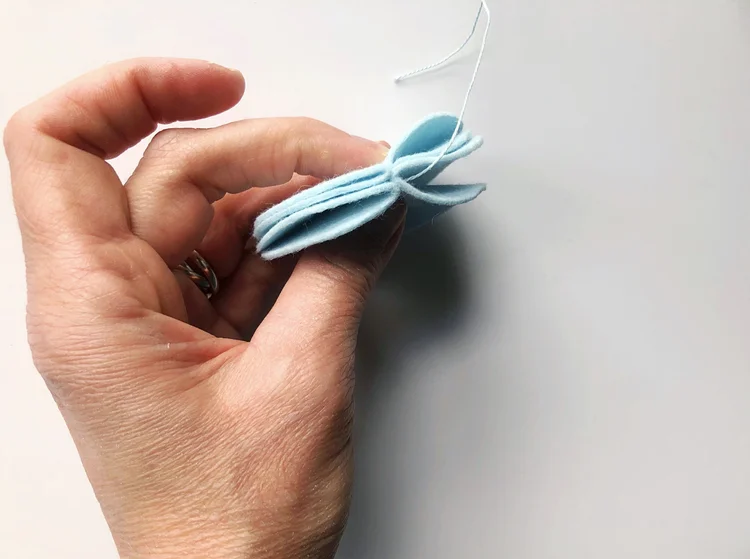
With the working thread, sew these two new pieces together along their centrefold lines in the same manner as before.
Sew to the end of the folded crease. Remember-don’t cut your thread.
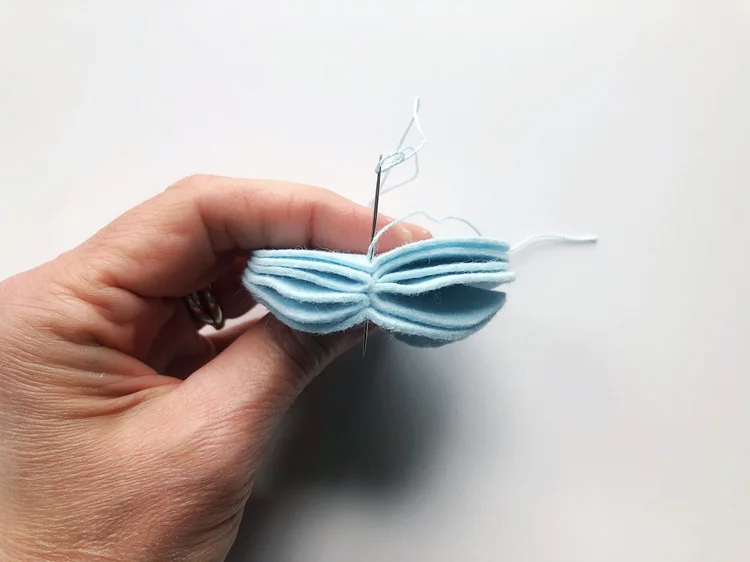
Now we are going to repeat that same step again, by folding all of the circles closed and
placing the two more felt circles on the top and bottom.
Be sure to align the creases.
Sew these two pieces together through the centre as before.
At this point, the felt is getting a bit bulky to sew through. Just be patient- you are almost finished.
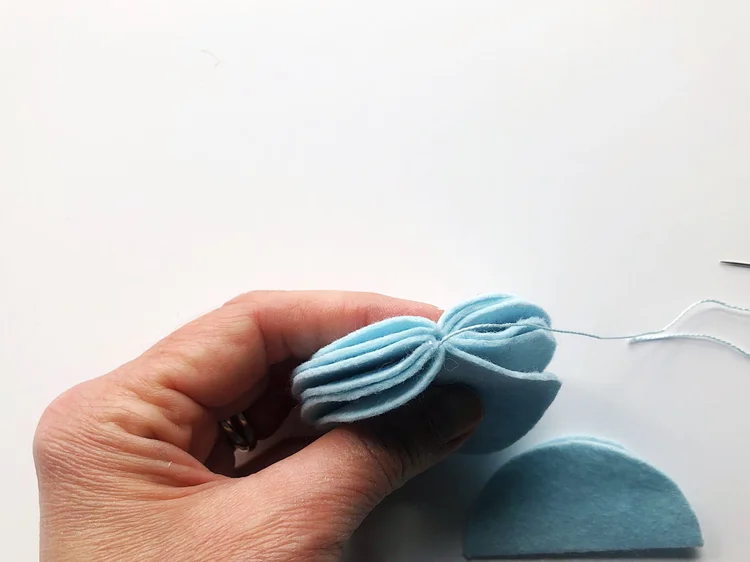
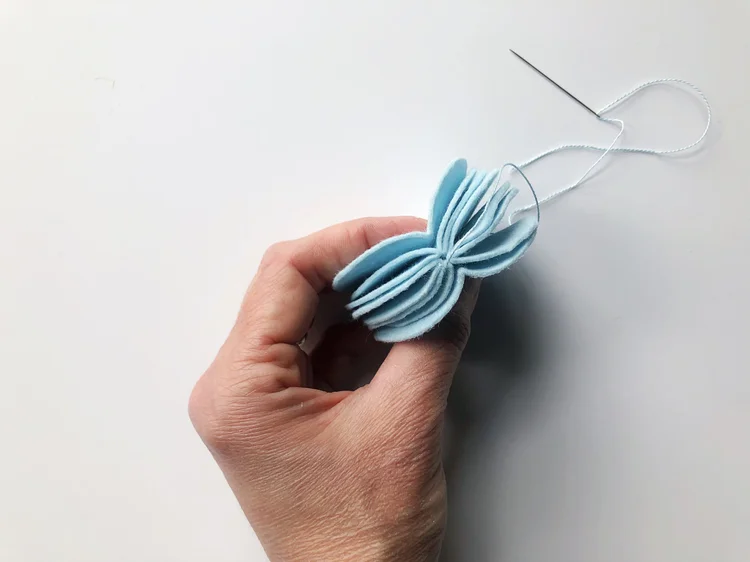
Repeat this process for the final two creased circles,
layering them opposite to one another through the centre and stitch.
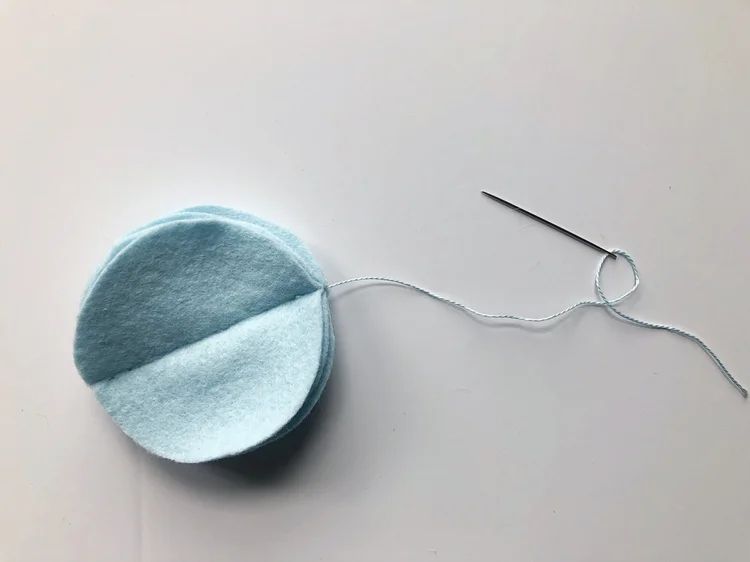
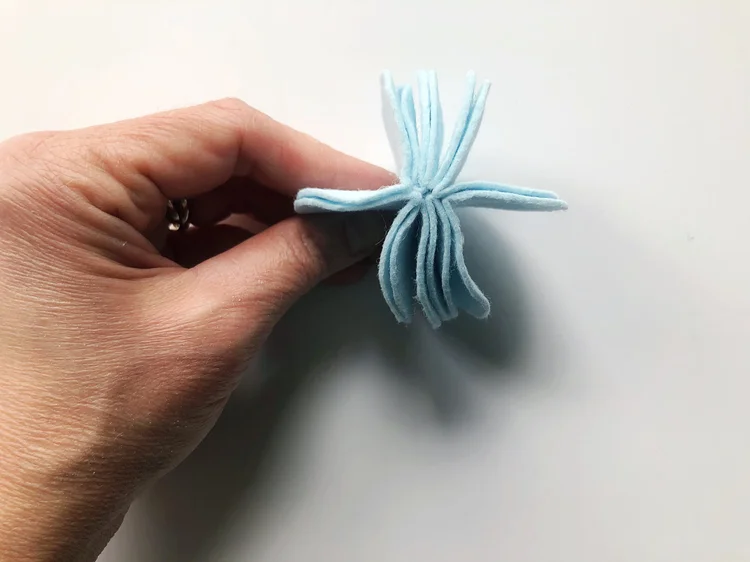
Give each section a little tug to straighten, then divide the circle in half to place the ears.
For the ears, I dabbed a bit of glue on each side and placed the ear.
You may need to pinch it for a minute or two to set.
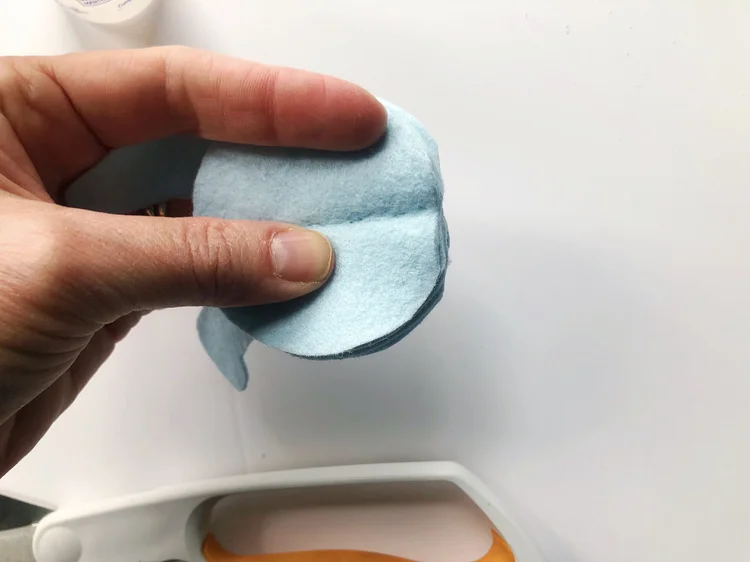
If you plan to have your bunny sit, you may need to flatten the bottom just a bit.
To do this, I pinched the circle in half and gave it a bit of a trim.
Just watch your stitching. If you happen to cut through- add a bit of glue and pretend it never happened.